Peter & Rachel's Bathroom: After
 Yesterday I finished the remodel of Peter and Rachel's bathroom. It took about a week of hard work and lots of planning beforehand, but it turned out great!
Peter and Rachel are friends of mine and desperately needed to make some changes in their current bathroom.
Peter & Rachel's Bathroom: Before

They had been wanting to remodel this bathroom for years but with demanding careers and a toddler, they had no time or energy to put into this task. That is where I come in.
Having known the couple for several years, I was familiar with the bathroom and already had tons of ideas of how we could make this space fabulous without putting the bathroom out of commission for any length of time. It is their only bathroom, so careful planning was a MUST to achieve the final result quickly and within budget.
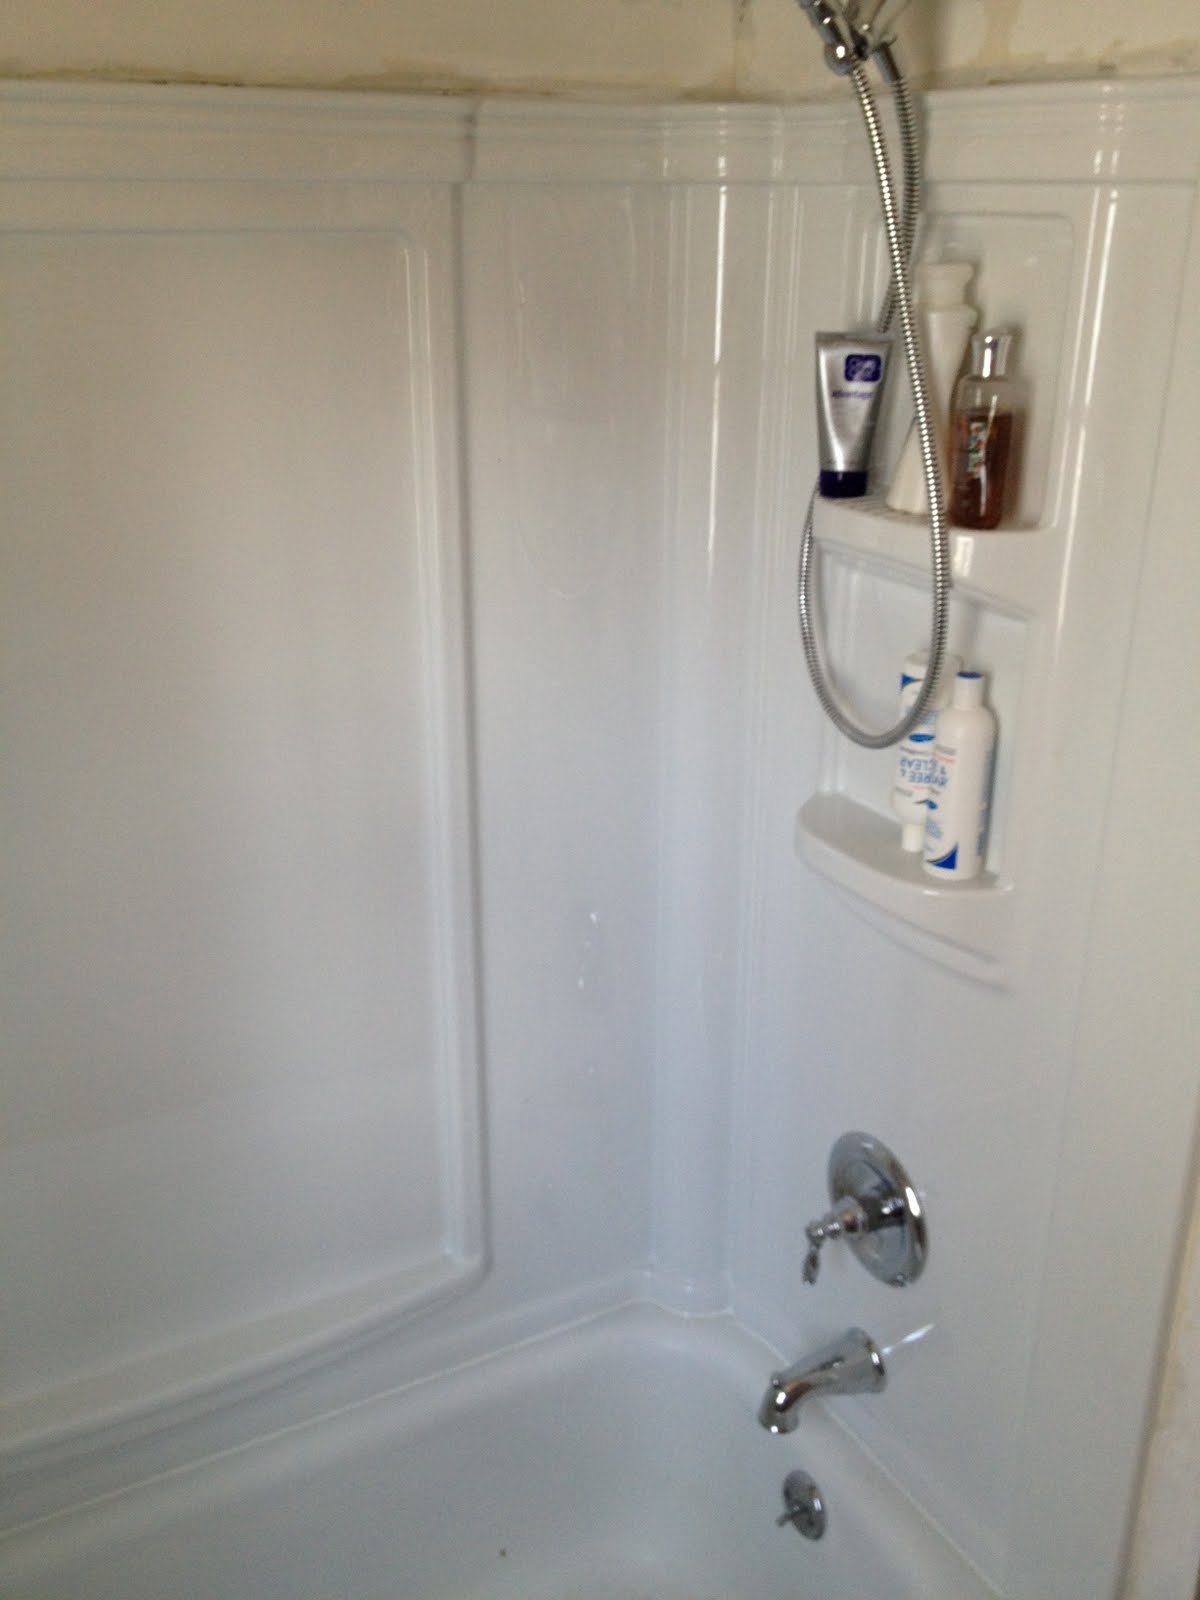
One of the first things we did was replace the old, yellowed tub surround and dated plumbing hardware in the shower.
Tub Surround: Before


Tub Surround: After

The tub itself was in good shape, so we decided to keep that and just replace the surround. We went with the fiberglass surround because it could be installed in a single day. Tile would have taken several days and for a family of three that can be a long time to be without a tub or shower! Also, huge thanks to my plumber/contractor on this job, Kevin Byrne. He worked so hard and did a great job!
As is usually the case with home improvements, we had a couple of surprises! We knew the drywall on this corner would need to be repaired, but when I removed the trim below it started to crumble away, revealing water damage and some mold! When I removed the old medicine cabinet, there was a hole where a recessed cabinet had once been. Add more drywall work to the list!

 If that's that worst this bathroom can throw at me, I'll take it! My contractor Kevin had those nasty holes patched up in no time.
 Speaking of patching, we did a LOT! The traditional method would have been to rip out all of the drywall and start from scratch but that would have taken more time which we just didn't have with a one-bathroom house. There were areas of peeling paint, (NEVER paint over wallpaper glue!) lots of uneven areas, and holes from all of the hardware removed. It took a lot of patching, sanding, patching and sanding again, but the walls turned out pretty well in the end.
We replaced the old plain door and updated the hardware to match the newer doors on the bedrooms in the home.
Door: Before

Door: After

After painting, I installed the floor. I used a product called Allure, which is sold at Home Depot. I am in love with this stuff! It's a vinyl plank product and comes in 12"x36" strips. It has sticky tabs that actually adhere to one another so you don't have to glue it down to the floor at all! It's so easy to do, all you need are a utility knife and a metal ruler to install it. I have had this product (in a wood grain pattern) in my house for over three years and it is super-durable! It comes in lots of colors and patterns, wood and tile-look.


After the floor was in, everything came together really quickly! The space-saving vanity was another Home Depot find, the homeowners loved the look of it and the reduced depth, but liked that they still had a full sized sink and little bit of counter space.
 I was also able to find a wall cabinet for over the toilet to give them more storage -- and it matched almost exactly to the vanity! The glass gives a little texture and dimension to the small room.
This beautiful architectural trim was installed in the bathroom to match what they have throughout the rest of their house. You can also get a better look at the floor here.

I got this cute shower curtain at Target along with the wooden hooks. The pale blue stripes were a dead-on match for our paint color and of course it had the espresso brown to tie in our vanity and wall cabinet. Perfect match! Normally I might use a shower curtain to bring in a pop of color, but for this small space I stuck to a limited color palate for a crisp, serene, spa-like feel.

Then I added some finishing touches like this basket for extra storage.
 There wasn't a lot of space for a towel bar, so I chose this smaller 18" bar and placed it next to the vanity.
 I also added some inexpensive off-the-shelf monogrammed towels to add a personal touch for the homeowners.
 And some cute apothecary style accessories.
Unfortunately, it had already gotten dark by the time I was finished and taking pictures, so the light fixture is on in most of them. Here's one I took with the flash without the light on so you can see the fixture.


So, there you have it -- a quick, yet complete, overhaul of a dated bathroom!


